I will be writing a multi-part blog series on the infrastructure as code (IaC) tool called Pulumi. For the first post on Pulumi, I will cover installing the tool and creating a basic project. This project, I will show how to configuring Pulumi for AWS using the Python programming language.
Introduction:
Are you sick of using Terraform to manage your (IaC)? Consider Pulumi, a platform that uses modern (IaC). To describe your infrastructure, you can use Pulumi and well-known programming languages like JavaScript, TypeScript, Python, and Go. This enables you to use already-existing libraries and tools in addition to producing code that is more effective and legible. Additionally, Pulumi’s cloud-native strategy enables seamless interaction with cloud service providers and improved team collaboration. We’ll go into more detail about the advantages of utilizing Pulumi versus Terraform in this blog post, as well as how to set up this potent tool.
Benefits of using Pulumi over Terraform
- Easier to use: For those new to Infrastructure as Code, Pulumi is a wonderful option because it is simpler and easier to use than Terraform (IaC). With IaC, users can quickly get up and running without having to learn the nuances of a configuration language thanks to its code-first methodology.
- Cross-platform support: Pulumi supports a wide range of well-known languages, including Python, Go, JavaScript, TypeScript, and.NET, allowing users to select the language they prefer.
- More adaptability: Unlike Terraform, Pulumi enables users to build custom applications using pre-existing libraries and packages. This makes it simpler to adapt and expand the infrastructure as necessary.
Install and configure Pulumi for AWS:
Requirements:
- Python 3.7 or later Installed. https://www.python.org/downloads/
- IAM user account with Programmatic access
Install Pulumi:
Pulumi supports macOS, Windows and Linux. For this post I will be using macOS which requires homebrew.
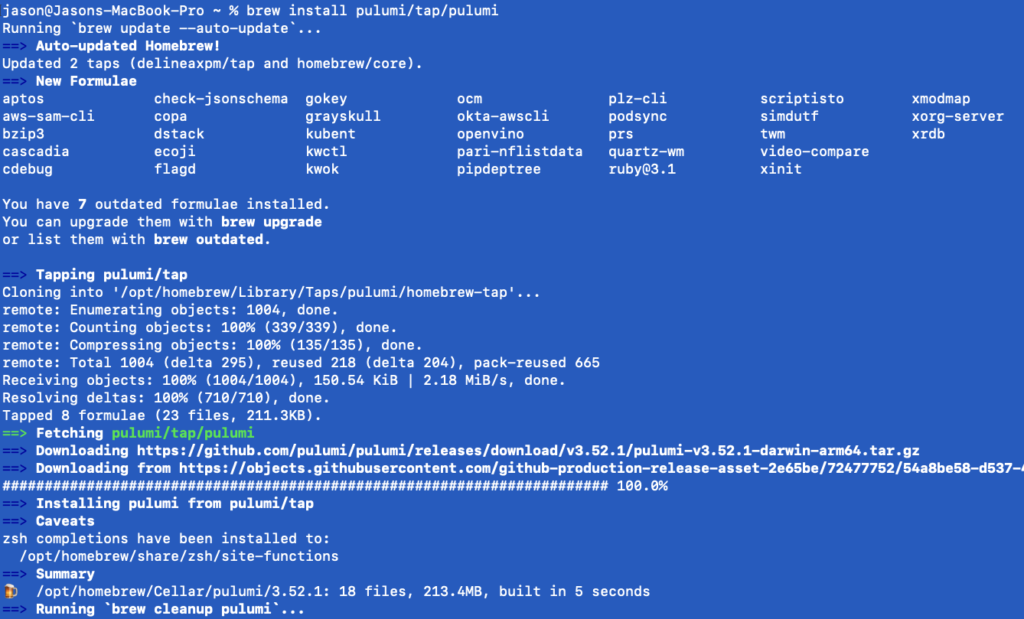
To install on macOS run:
brew install pulumi/tap/pulumi
Windows:
choco install pulumiLinux:
curl -fsSL https://get.pulumi.com | shConfigure Pulumi to access your AWS account:
Cloud credentials are necessary for Pulumi to manage and deploy resources. You must deploy and manage resources handled by Pulumi using an IAM user account with Programmatic access and rights.
If you already have AWS CLI that you previously installed and set up Pulumi will use those settings.
The AWS ACCESS KEY ID and AWS SECRET ACCESS KEY environment variables should be configured on your workstation if you do not already have the AWS CLI installed or intend to use Pulumi from a CI/CD pipeline.
macOS:
export AWS_ACCESS_KEY_ID=<YOUR_ACCESS_KEY_ID>
export AWS_SECRET_ACCESS_KEY=<YOUR_SECRET_ACCESS_KEY>
Windows:
$env:AWS_ACCESS_KEY_ID = "<YOUR_ACCESS_KEY_ID>"
$env:AWS_SECRET_ACCESS_KEY = "<YOUR_SECRET_ACCESS_KEY>"
Linux:
export AWS_ACCESS_KEY_ID=<YOUR_ACCESS_KEY_ID>
export AWS_SECRET_ACCESS_KEY=<YOUR_SECRET_ACCESS_KEY>
Next, we will create the new Pulumi project.
For python run the following commands:
mkdir pulumi_test && cd pulumi_test
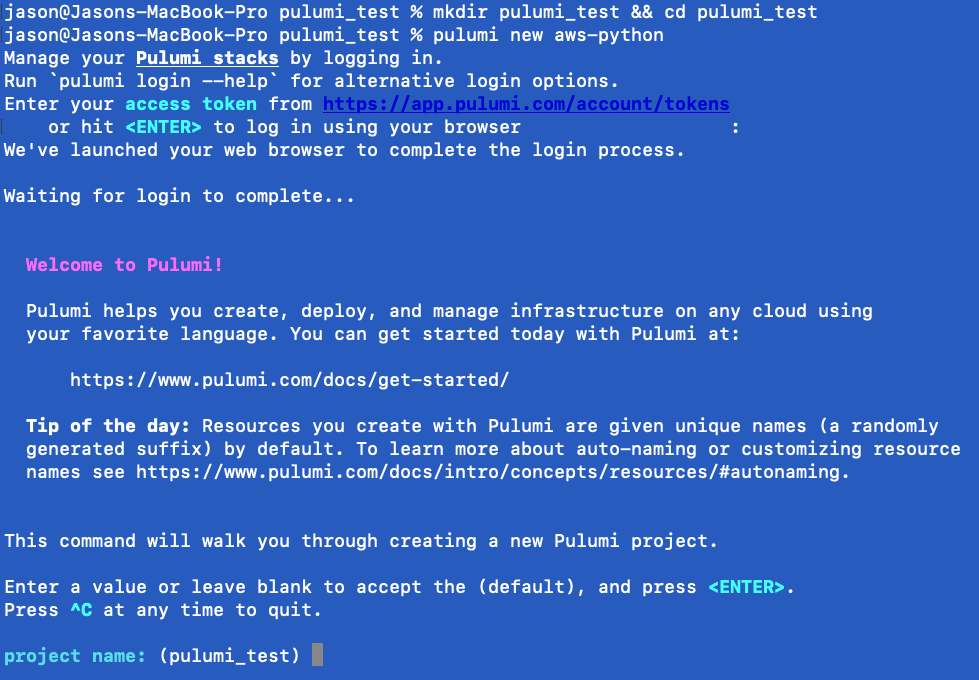
pulumi new aws-python
Note:
A new Pulumi project is created with the pulumi new command and comes with some basic scaffolding depending on the cloud and language options.
If this is the first time running Pulumi you will be prompted to log in to the Pulumi service.

After logging in you will be prompted through the create project process. You will be asked for the project name and description.

Next, we need to create the stack. I will choose the default dev.

A Pulumi stack is a named collection of resources and configuration settings that are used to define and manage cloud infrastructure. Each stack contains a set of Pulumi programs, which are used to create, update, and delete cloud resources like networks, databases, and virtual machines. By grouping related resources together into a stack, Pulumi makes it easier to manage and monitor the state of an entire application’s infrastructure.
Next select your AWS region for the project.

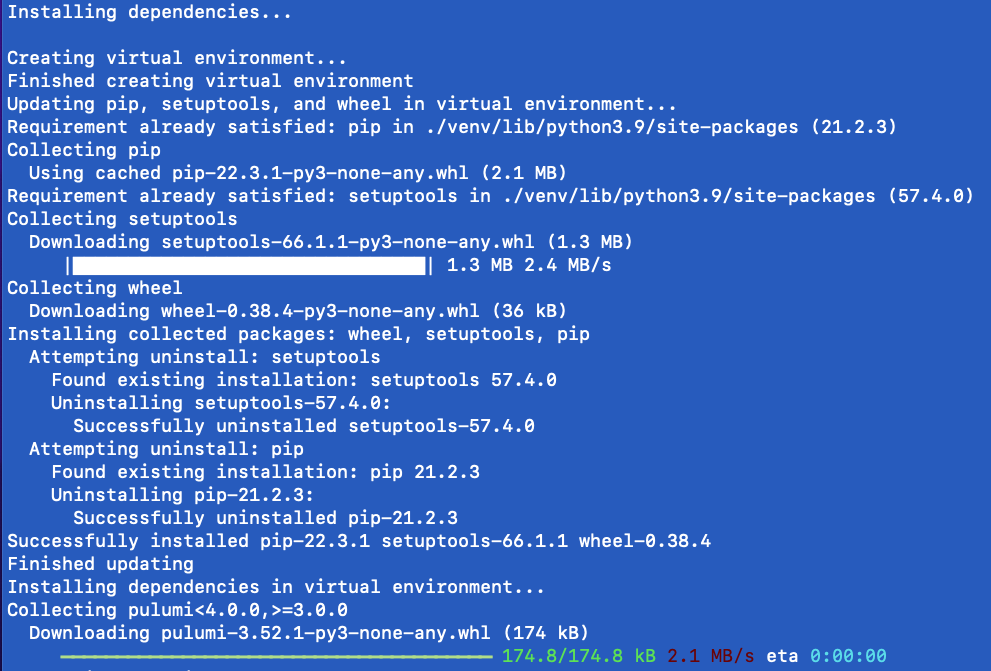
Once you select the region the dependencies and virtual environment will be created for your project.

If the deployment is successful, you will see the message that your new project is ready.

The next blog in this series will we review the project we created and write the code to create a S3 bucket.
Are you DevOps fit?